Chicken Egg Incubation Mastery: From Start to Hatch
Table of Contents
I. Introduction

Welcome to “Chicken Egg Incubation 101: A Comprehensive Guide.” Whether you’re a novice poultry enthusiast or a seasoned farmer, understanding the art of hatching chicken eggs is a crucial skill. This comprehensive guide will walk you through the essential steps, from selecting fertile eggs to witnessing the first adorable chirps of newly hatched chicks.
Join us on this 21-day journey, where we demystify the incubation process, provide valuable insights into poultry farming equipment, and address common questions. Let’s embark on this adventure together, ensuring a successful and fulfilling experience in the world of chicken egg incubation.
II. Getting Started with Chicken Egg Incubation
A. Considerations for Starting a Flock
1. Choosing Chickens
When considering starting a flock, it’s crucial to choose the right chicken breeds for your goals. Factors such as egg production, temperament, and adaptability to your local climate should influence your decision. Research various breeds, their characteristics, and compatibility with your farming environment.
2. Caring for Chicks
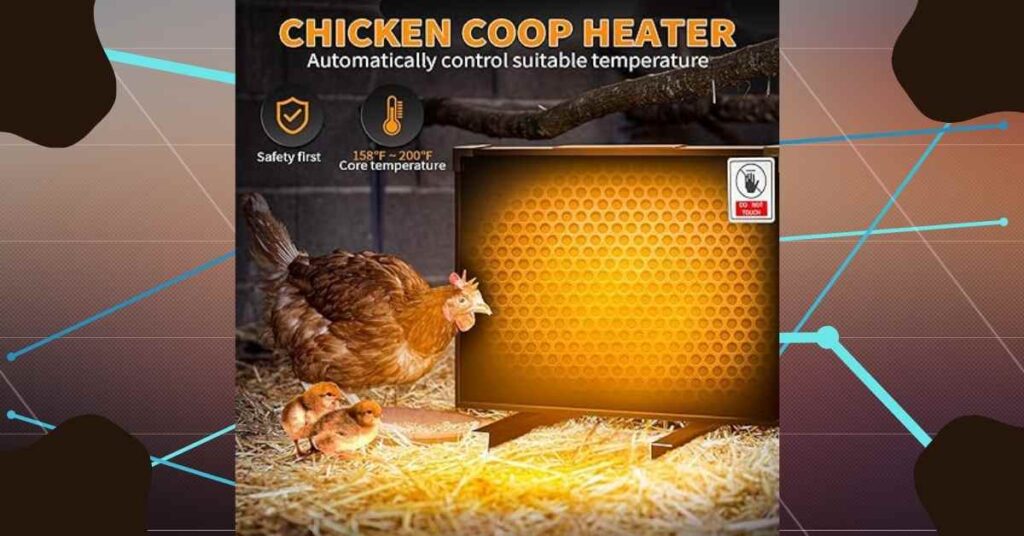
Before diving into egg incubation, understanding how to care for chicks is essential. From providing a suitable brooding environment to ensuring they receive proper nutrition, mastering the art of chick care sets the foundation for successful poultry farming. Learn about brooders, heat sources, and the appropriate chick starter feed to foster healthy growth.
B. Acquiring Fertile Eggs and Necessary Supplies
1. Finding Fertile Eggs
Securing fertile eggs is the first step towards a successful hatch. Whether you choose to purchase from reputable breeders, local farmers, or hatch your own, ensuring the eggs are fertile is paramount. Learn the signs of fertility and establish reliable sources for obtaining high-quality eggs.
2. Essential Chick Starter Feed
Proper nutrition is key during the incubation period and beyond. Familiarize yourself with chick starter feed, a balanced diet crucial for the health and development of the chicks. Explore different feed options, understand nutritional requirements, and ensure you have an adequate supply to support your growing flock.
By addressing these considerations, you’ll lay a solid foundation for your chicken farming journey. In the next section, we’ll delve into the intricacies of setting up the incubation process, ensuring you’re well-prepared for the exciting 21-day incubation period. Get ready to witness the miracle of life as we guide you through hatching your own chicks at home.
III. Setting Up the Incubation Process
A. Day 1: Placing and Setting Eggs
On day one of the incubation process, attention to detail is crucial. Follow these steps for a successful start:
Quality Assurance:
Ensure the eggs are clean and free from cracks or deformities.
Discard any eggs with irregularities, as they may not hatch successfully.
Positioning in the Incubator:
With the pointed end down, place the eggs in the incubator.
Avoid overcrowding to allow proper air circulation.
Temperature and Humidity Check:
Calibrate the incubator to the recommended temperature (usually around 99.5°F or 37.5°C).
Adjust humidity levels according to the specific requirements of the chosen chicken breed.
B. Days 1-18: Egg Turning
During this crucial period, consistent egg turning ensures proper embryonic development. Follow these guidelines:
Frequency:
At least three times a day, flip the eggs.
Maintain a regular schedule to promote even heat distribution.
Technique:
Gently rotate each egg, being mindful not to shake them excessively.
Use an automatic egg turner if available, ensuring a consistent and gentle rotation.
Monitoring Development:
Regularly inspect the eggs for signs of fertility and embryonic growth.
Familiarize yourself with the appearance of a healthy embryo during candling
C. Days 7-10: Candling Eggs
Candling is a crucial step in assessing the viability of the developing embryos. Follow these steps:
Dark Environment:
Perform candling in a dark or low-light setting for better visibility.
Avoid exposing the eggs to light for an extended period to prevent stress.
Identifying Development:
Look for blood vessels and embryo development through the eggshell.
Remove any clear or infertile eggs to maintain optimal conditions for viable ones.
D. Days 18-21: Pre-hatching Preparation
As the hatch date approaches, make the necessary preparations for a smooth transition:
Reduced Turning:
At least three times a day, flip the eggs.
Create a stable environment to prevent disturbances during the hatching process.
Maintaining Humidity:
Increase humidity levels to facilitate easier hatching.
Be vigilant in monitoring temperature and humidity to ensure a favorable atmosphere.
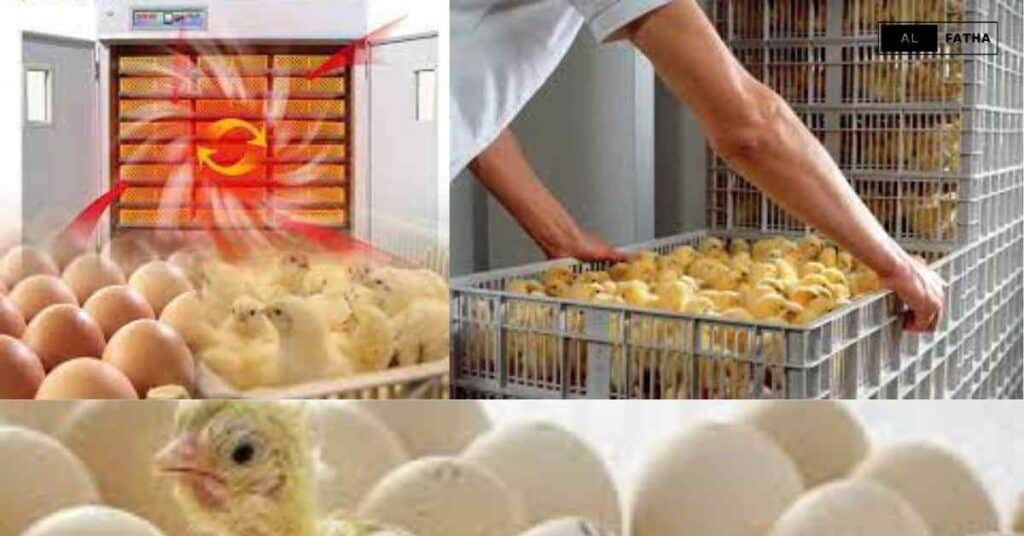
E. Day 21: Hatching Process Begins
Prepare for the exciting culmination of the incubation journey:
Observation:
Monitor the incubator closely for signs of pipping (cracking of the eggshell by the chick).
Resist the urge to intervene unless necessary, allowing the chicks to hatch naturally.
Post-Hatch Care:
Once hatched, transfer the chicks to a brooder with appropriate heat and bedding.
Provide fresh water and a balanced chick starter feed to support their initial growth.
By following these guidelines, you’ll navigate the incubation process with confidence, setting the stage for a successful hatch and the beginning of a new flock. In the next sections, we’ll explore poultry farming equipment and delve into the specifics of incubating chicken eggs. Get ready to witness the fascinating journey from egg to chick.
IV. Poultry Farming Equipment
Poultry farming requires a range of specialized equipment to ensure the well-being of your flock and streamline daily operations. Let’s explore the various components of poultry farming equipment:
A. Overview of Farming Equipment
Introduction:
Understand the significance of appropriate equipment in poultry farming.
Efficient equipment contributes to the overall health, productivity, and comfort of your chickens.
B. Feeding System & Equipment
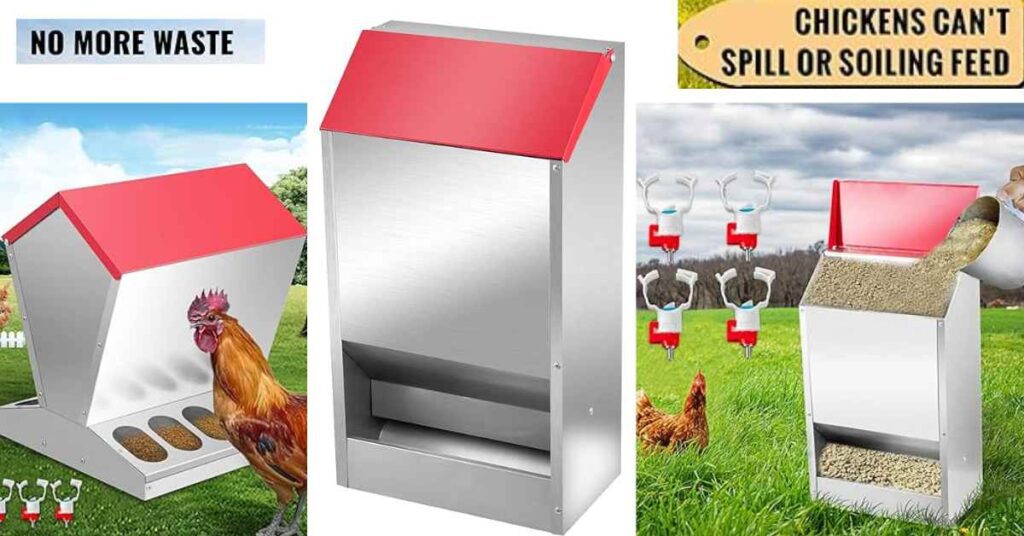
Automatic Feeders:
Explore the benefits of automatic feeders for consistent and timely feeding.
Adjust feeders based on the age and size of the chickens to prevent wastage.
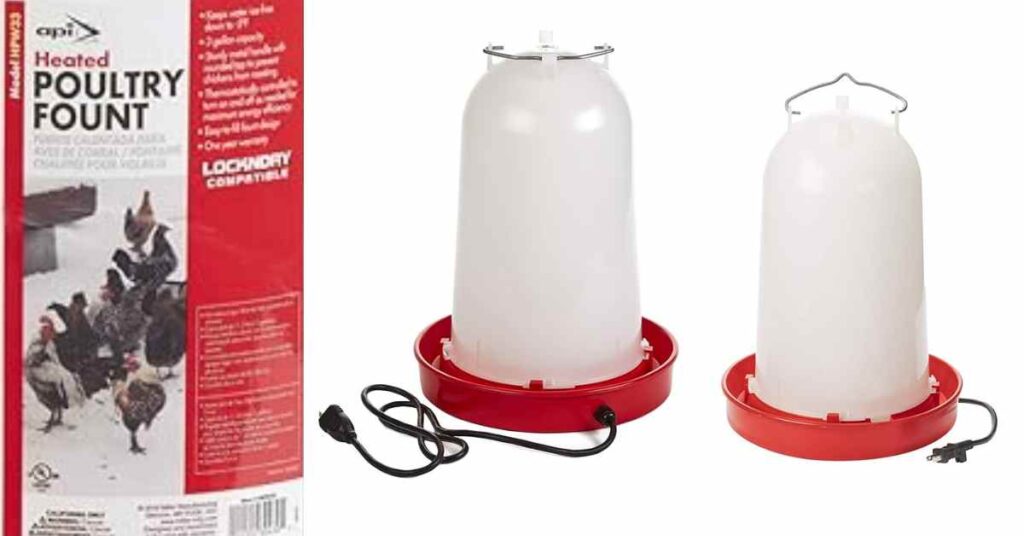
Watering Systems:
Consider different watering systems, such as nipple drinkers or troughs.
Ensure a clean and accessible water supply for optimal hydration.
C. Farming Plumbing Systems
Water Supply Systems:
Implement reliable plumbing systems to ensure a continuous water supply.
Regularly check for leaks and maintain proper water pressure.
D. Farming Consumables
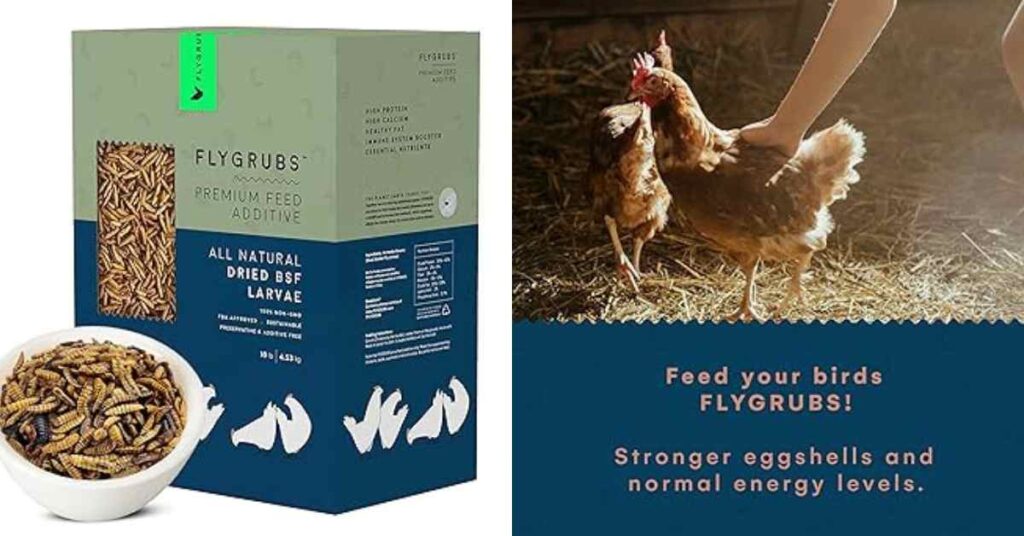
Nutritional Supplements:
Understand the importance of nutritional supplements for poultry health.
Explore options such as vitamins, minerals, and probiotics to enhance feed quality.
E. Farming Hardware
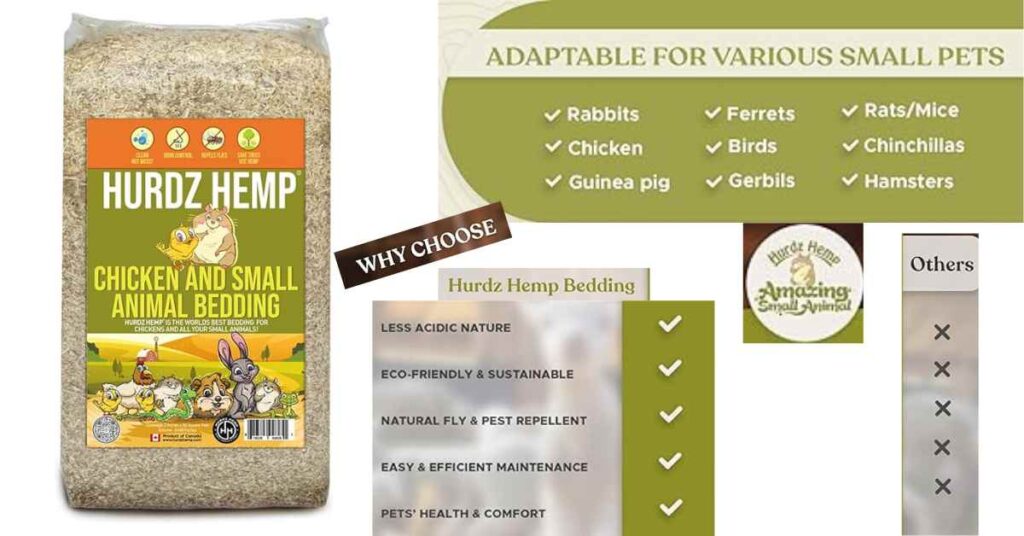
Coop Construction Materials:
Choose appropriate materials for constructing chicken coops.
Consider factors like insulation, ventilation, and predator protection.
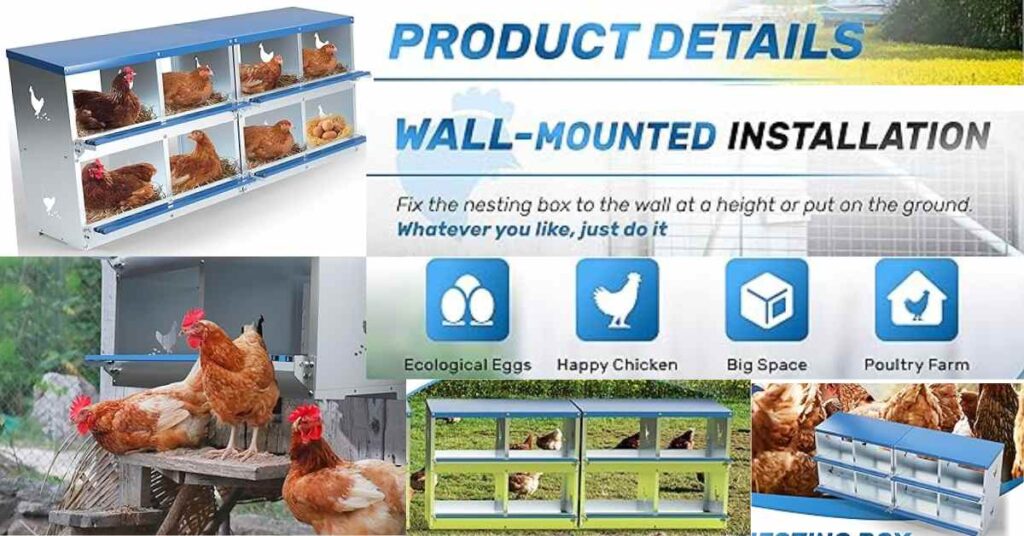
Nesting Boxes:
Provide comfortable nesting boxes to encourage egg-laying in a secure environment.
Ensure easy access for egg collection and periodic cleaning.
F. Game Rearing Equipment & Supplies
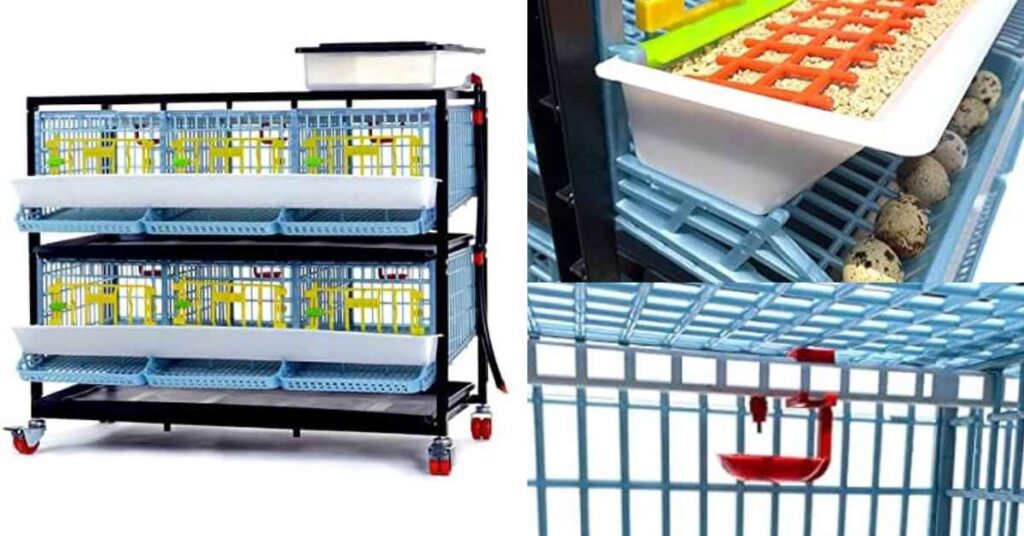
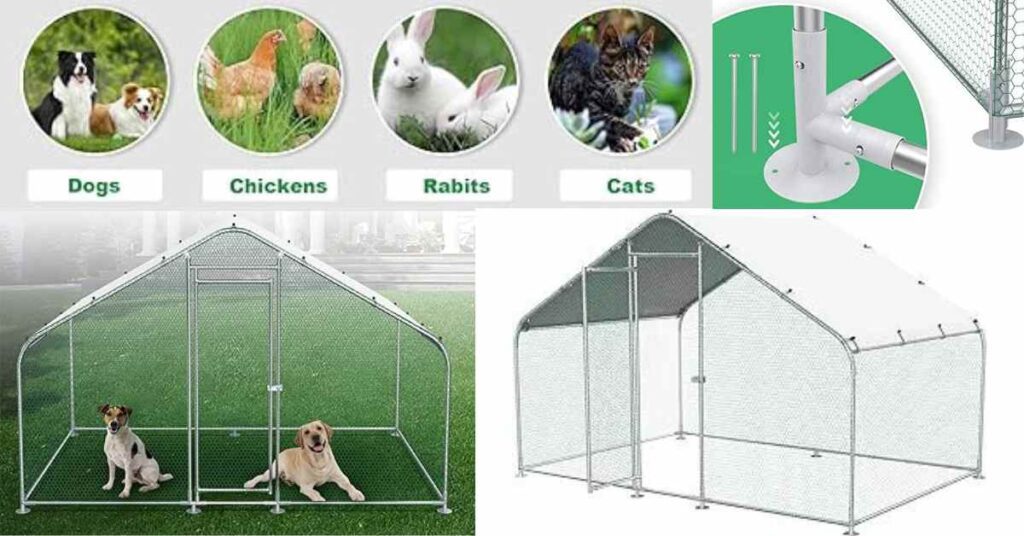
Rearing Pens:
Set up rearing pens for the controlled development of young chickens.
Provide adequate space, ventilation, and protection from the elements.
G. Personal Protective Equipment (PPE)
Farming Masks:
Understand the importance of masks in protecting against airborne particles.
Choose masks suitable for farming activities to prevent respiratory issues.
Farming Gloves:
Select durable and comfortable gloves for various tasks, from handling feed to cleaning coops.
Prioritize gloves that provide protection against potential hazards.
Eye Protection Equipment:
Safeguard your eyes with protective gear during tasks that pose eye risks.
Prioritize eye protection when handling chemicals or performing construction tasks.
Coveralls:
Invest in coveralls to protect your clothing from dirt, dust, and potential contaminants.
Choose breathable and easy-to-clean coveralls for comfort and hygiene.
H. Pest Control Products
Rodent Control:
Address the importance of pest control in maintaining a healthy poultry environment.
Explore effective products like rodent baits for a pest-free farm.
Insect Control:
Consider insect control measures to protect both chickens and their environment.
Evaluate professional-use baits for efficient insect management.
Understanding and investing in the right poultry farming equipment contribute significantly to the success of your operation. In the following sections, we’ll delve into specific aspects of chicken egg incubation, ensuring a comprehensive understanding of the entire process. Stay tuned for detailed insights into incubation conditions, troubleshooting, and more.
V. How to Incubate Chicken Eggs
Incubating chicken eggs requires precision and attention to detail. In this section, we will guide you through the essential steps of incubating chicken eggs successfully:
A. Prevention of Egg Eating in Chickens
Understanding Egg Eating Behavior:
Recognize the reasons why chickens may engage in egg-eating behavior.
Address potential causes such as boredom, nutritional deficiencies, or overcrowded conditions.
Promoting a Stimulating Environment:
Implement measures to keep chickens engaged and mentally stimulated.
Provide suitable toys, perches, and access to outdoor areas for exercise.
B. Selection and Care of Hatching Eggs
Choosing Fertile Eggs:
Select eggs from healthy and well-nourished hens to maximize hatchability.
Ensure the chosen eggs are free from cracks, deformities, or irregularities.
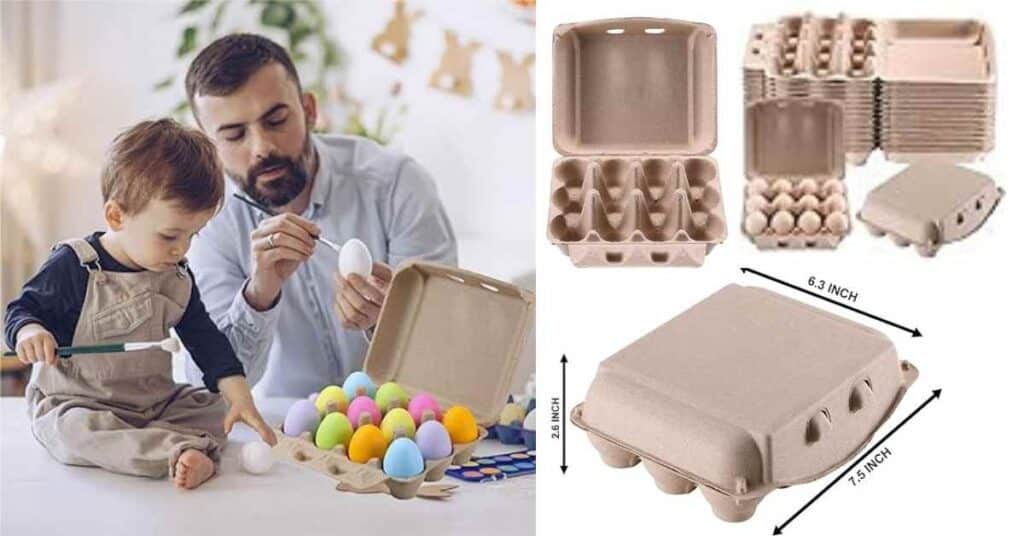
Proper Egg Handling and Storage:
Handle eggs with care to avoid damage to the delicate shell.
Store eggs in a cool and humid environment before incubation.
Candling Eggs:
Introduce candling as a method to assess the fertility and development of eggs.
Regularly candle eggs during the incubation period to monitor progress.
C. Incubators and Incubating Conditions
Choosing the Right Incubator:
Understand the types of incubators available, including manual, semi-automated, and fully automated.
Select an incubator based on your preferences, budget, and the scale of your operation.
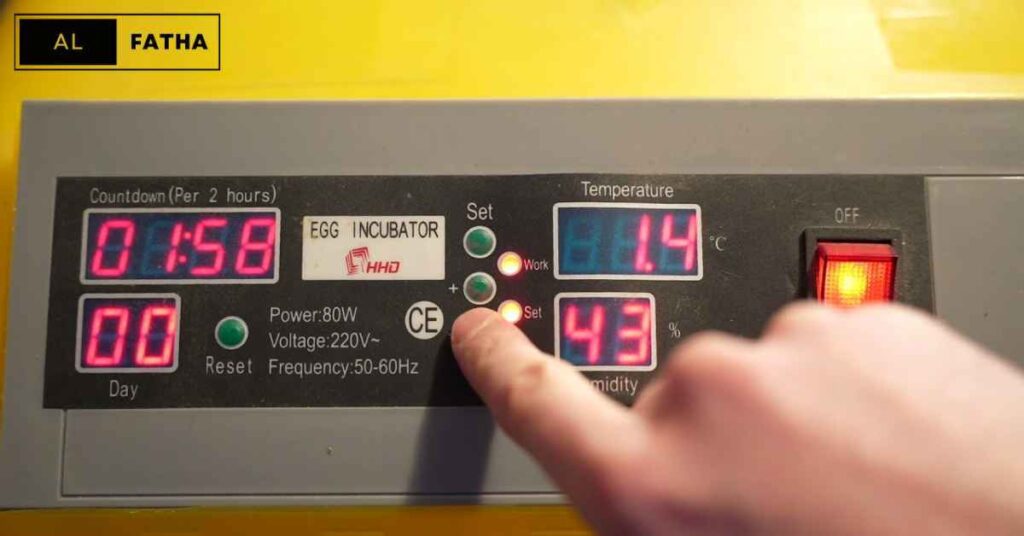
Setting Up the Incubator:
Calibrate the incubator to maintain the recommended temperature and humidity levels.
Place the incubator in a stable location away from drafts and direct sunlight.
D. Troubleshooting Failures in Incubation
Monitoring Temperature Fluctuations:
Regularly check and calibrate the incubator to ensure a stable temperature.
Address temperature fluctuations promptly to prevent adverse effects on embryo development.
Adjusting Humidity Levels:
Maintain appropriate humidity levels throughout the incubation process.
Adjust humidity based on the specific requirements of the chicken breed.
Identifying and Removing Unviable Eggs:
Perform regular candling to identify eggs with no signs of development.
Remove unviable eggs promptly to prevent potential contamination.
Addressing Common Incubation Issues:
Troubleshoot common problems such as malpositioned embryos, late or early hatching, and irregular hatching patterns.
Refer to resources and seek advice from experienced poultry keepers for effective solutions.
By mastering these aspects of chicken egg incubation, you lay the groundwork for a successful hatch and the beginning of a healthy chicken flock. In the following sections, we will delve into the specific details of the incubation process, from the initial setting of eggs to the exciting moment when baby chicks start hatching. Get ready for an insightful journey into the world of chicken egg incubation.
VI. How to Hatch Eggs
Hatching chicken eggs is a rewarding process that requires careful attention and adherence to specific guidelines. In this section, we’ll explore the intricacies of hatching eggs successfully at home:
A. Before You Start
Preparation and Planning:
Gather all necessary supplies, including an incubator, fertile eggs, and an understanding of the incubation process.
Establish a dedicated and stable space for the incubator, ensuring it’s free from disturbances.
Environmental Considerations:
Maintain a consistent temperature in the room housing the incubator.
Avoid placing the incubator in direct sunlight or drafty areas.
B. Choice of Incubator
Manual Incubators:
Suitable for beginners with a smaller-scale operation.
requires manual humidity and temperature monitoring and adjustment.
Mostly Automated Incubators:
Offers a middle-ground option with automated features for temperature and humidity control.
Provides a balance between user control and automation.
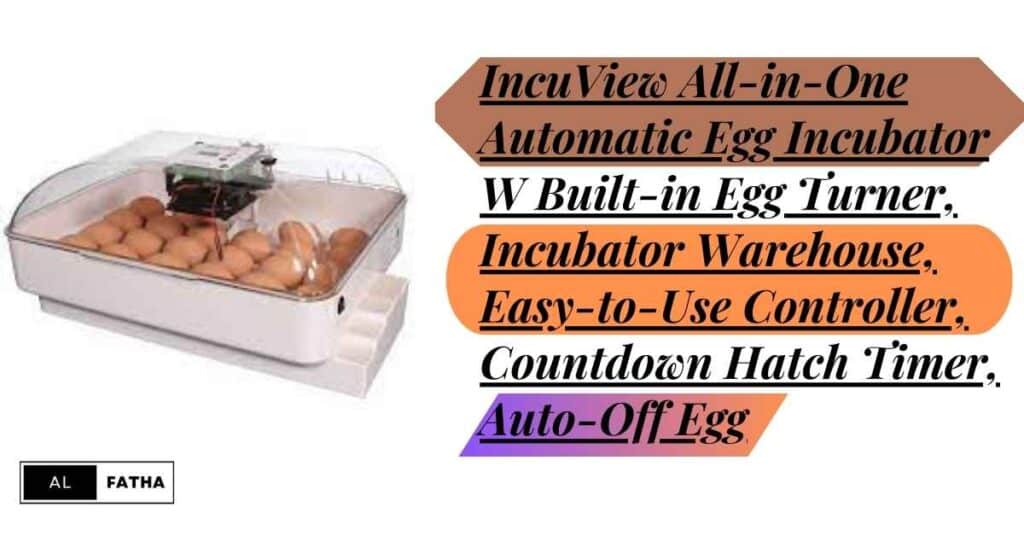
Fully Automated Incubators:
Ideal for those seeking minimal hands-on involvement.
Automated controls for temperature, humidity, and egg turning.
C. Incubating Chicken Eggs - Step by Step
Setting Up the Incubator:
Calibrate the incubator to the recommended temperature (typically around 99.5°F or 37.5°C).
Adjust humidity levels based on the specific requirements of the chosen chicken breed.
Placing Fertile Eggs:
Position the eggs with the pointed end down in the incubator.
Avoid overcrowding to ensure proper air circulation.
D. Candling Eggs and Monitoring the Air Sack
Candling Process:
Perform regular candling sessions to monitor embryo development.
Look for signs of blood vessels, healthy growth, and potential issues.
Air Sack Assessment:
Monitor the air sack’s growth during candling sessions.
An appropriately sized air sack indicates proper moisture levels.
E. The Hatching Process
Observing Pipping:
Monitor the incubator closely for signs of pipping (the chick cracking the eggshell).
Refrain from intervening unless necessary, allowing natural hatching to occur.
Post-Hatch Care:
Transfer the newly hatched chicks to a brooder with suitable heat and bedding.
Provide fresh water and a balanced chick starter feed to support their initial growth.
F. Incubation Tips
Maintain Consistency:
Ensure a consistent environment throughout the incubation period.
Avoid unnecessary disturbances to maximize hatching success.
Document Observations:
Keep a record of candling observations, including dates and any concerns.
This documentation helps troubleshoot issues and improves future incubation attempts.
By following these detailed steps and tips, you’ll enhance your ability to successfully hatch chicken eggs at home. In the upcoming sections, we’ll delve into specific details about caring for newly hatched chicks, alternative incubation methods, and frequently asked questions related to chicken egg incubation. Get ready to witness the marvel of life as your chicks make their debut into the world.
VII. Hatch Chicken Eggs at Home
Hatching chicken eggs at home offers a unique and fulfilling experience, allowing you to witness the miracle of life from incubation to the adorable chirps of newly hatched chicks. In this section, we’ll guide you through the essential aspects of successfully hatching chicken eggs in a home setting:
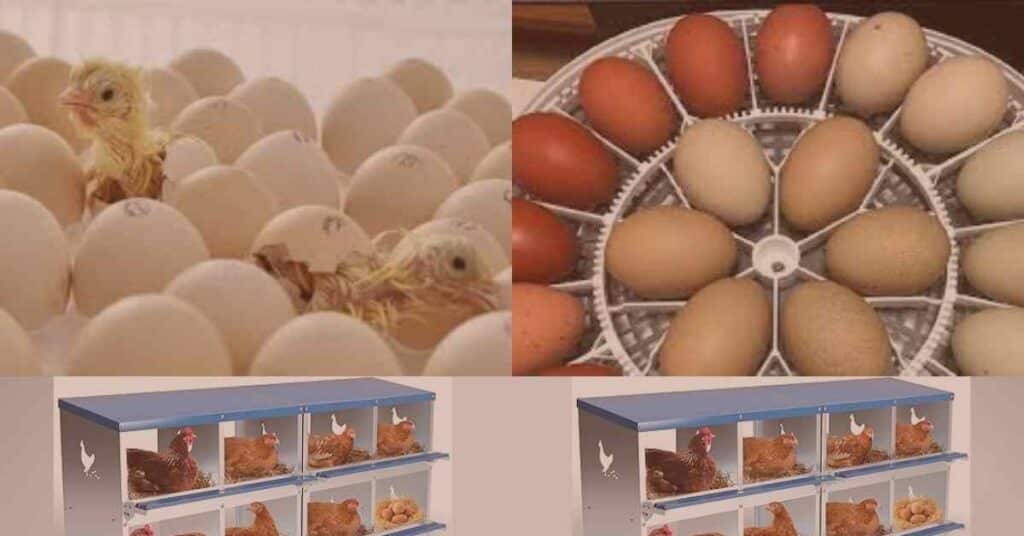
A. Importance of Incubators
Creating a Controlled Environment:
Incubators provide a controlled environment necessary for optimal egg development.
Temperature and humidity settings can be adjusted to meet specific breed requirements.
Facilitating Successful Hatching:
Incubators ensure a stable environment, minimizing external disturbances that could affect the hatching process.
Automated features, such as egg turning and temperature control, enhance hatching success.
B. Types of Incubators: Manual, Mostly Automated, Fully Automated
Manual Incubators:
Ideal for beginners and small-scale operations.
Requires regular monitoring and adjustment of temperature and humidity.
Mostly Automated Incubators:
Offers a balance between user control and automation.
Automated features for temperature and humidity control, reducing manual intervention.
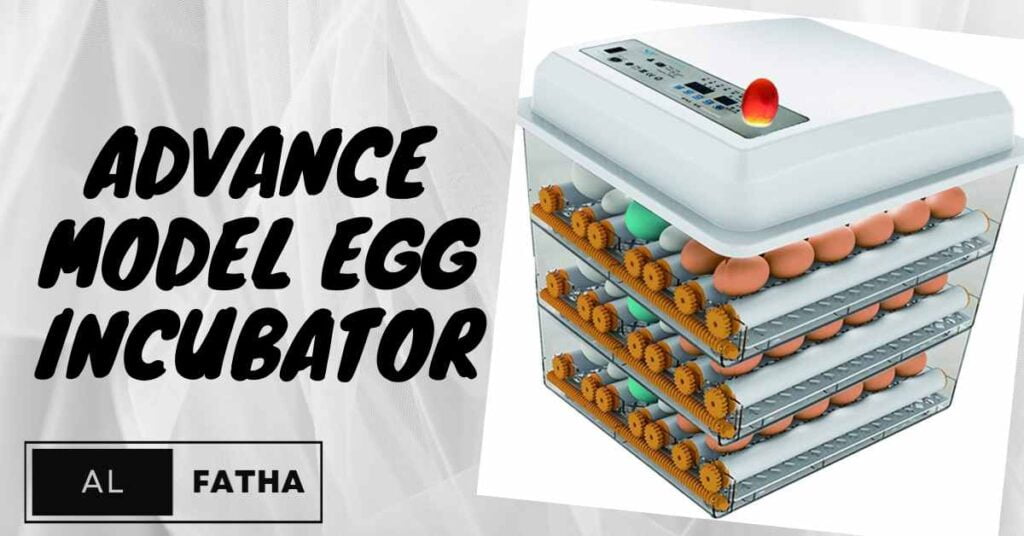
Fully Automated Incubators:
Suitable for those seeking a hands-off approach.
Automated controls for temperature, humidity, and egg turning.
C. Obtaining Fertile Eggs and Storage
Finding Reliable Sources:
Connect with reputable breeders or local farmers to obtain fertile eggs.
Ensure eggs are from healthy, well-cared-for hens.
Storage Before Incubation:
Store fertile eggs in a cool, humid environment before placing them in the incubator.
Avoid prolonged storage to maintain egg viability.
D. Understanding Hatching Rates
Factors Influencing Hatching Rates:
Genetics, egg quality, and incubation conditions impact hatching rates.
Proper handling, storage, and incubation techniques contribute to higher success rates.
Setting Realistic Expectations:
Recognize that not every egg will hatch successfully.
Factors such as fertility issues or genetic abnormalities can affect hatch rates.
E. Timeline of Hatching Process
Day 1-18: Egg Turning:
Regularly turn eggs to promote even embryo development.
Automated turners in mostly and fully automated incubators simplify this process.
Days 18-21: Pre-hatching Preparations:
Reduce egg turning to prepare for the hatching stage.
Increase humidity levels to facilitate easier hatch.
Day 21: Hatching Begins:
Monitor the incubator closely for signs of pipping.
Resist intervening unless there are complications.
F. Caring for Newly Hatched Chicks
Transfer to Brooder:
Move chicks to a brooder with suitable heat, bedding, and access to food and water.
Ensure a safe and warm environment to prevent stress.
Balanced Diet:
Provide a balanced chick starter feed to support their growth.
Fresh water should always be available.
G. Hatching Eggs with a Broody Hen
Natural Incubation:
Utilize broody hens for natural incubation.
Choose broody chicken breeds known for their maternal instincts.
Selecting Broody Hen Breeds:
Consider breeds known for broodiness, such as Silkie or Orpington.
Evaluate their temperament and suitability for your flock.
H. Chicken Egg Hatching FAQ
Temperature and Humidity Guidelines:
Maintain temperature around 99.5°F (37.5°C) and humidity between 40-50% during incubation.
Duration of Incubation:
Chicken eggs typically hatch within 21 days, but this may vary based on breed and incubation conditions.
Cost of Chicken Egg Incubators:
Incubator costs vary; manual incubators are budget-friendly, while automated options may be more expensive.
Alternative Incubation Methods:
Explore alternative methods, such as using broody hens or DIY incubators.
Common Concerns and Solutions:
Address common issues like malpositioned embryos or late hatching with appropriate solutions.
As you embark on the journey of hatching chicken eggs at home, use this comprehensive guide to navigate each stage successfully. In the upcoming sections, we’ll delve into specific details about caring for newly hatched chicks, alternative incubation methods, and frequently asked questions related to chicken egg incubation. Get ready to witness the marvel of life as your chicks make their debut into the world.
VIII. Chicken Egg Hatching FAQ
Hatching chicken eggs involves a myriad of factors and questions. In this section, we’ll address frequently asked questions to provide clarity and guidance throughout the incubation process:
A. Temperature and Humidity Guidelines
What temperature is best for laying eggs in chickens?
A: Maintain a consistent temperature of around 99.5°F (37.5°C) throughout the incubation period.
Q: What humidity levels are recommended during incubation?
A: Keep humidity levels between 40-50% for the initial days, increasing to 65-75% during the final days leading up to hatching.
B. Duration of Incubation
What is the average hatching time for chicken eggs?
A: Chicken eggs typically hatch within 21 days, although the duration may vary based on the chicken breed and specific incubation conditions.
C. Cost of Chicken Egg Incubators
Q: How much does a chicken egg incubator cost?
A: Incubator costs vary based on type and features. Manual incubators are budget-friendly, ranging from $50 to $200, while automated options can range from $200 to over $1000.
D. Alternative Incubation Methods
Q: Can I hatch chicken eggs without an incubator?
A: Yes, alternative methods include using broody hens or creating DIY incubators. Each method has its own set of considerations and challenges.
E. Common Concerns and Solutions
Q: What should I do if the temperature in the incubator fluctuates?
A: Regularly monitor and calibrate the incubator. If fluctuations occur, make necessary adjustments promptly to maintain a stable environment.
Q: What if the eggs don't hatch on day 21?
A: Some breeds may take a day or two longer. If no pipping occurs, candling can help identify potential issues. Consult experienced breeders for advice.
Q: How can I address malpositioned embryos during incubation?
A: Carefully reposition the eggs during candling. If malposition persists, seek guidance from poultry experts or veterinarians.
Q: What should I do if chicks hatch late or early?
A: Late hatching may indicate a lower incubation temperature, while early hatching may be linked to higher temperatures. Adjust the incubator settings for subsequent attempts.
Q: Can I assist a chick during hatching if it's struggling?
A: Intervention should be minimal. If a chick is genuinely struggling and appears exhausted, you can carefully assist, but it’s best to let the process unfold naturally whenever possible.
Addressing these common questions helps troubleshoot issues and enhances your understanding of the chicken egg incubation process. In the next sections, we’ll explore the nuances of caring for newly hatched chicks, alternative incubation methods, and additional insights into chicken keeping. Get ready to witness the joy of a successful hatch and the beginning of a thriving flock.
IX. Chicken Keeping Guides
Caring for newly hatched chicks and maintaining a healthy chicken flock involves various considerations. In this section, we’ll provide comprehensive insights into chicken keeping, from frequently asked questions to breed-specific characteristics:
A. Raising Chickens FAQ: Your Questions Answered
Q: What do newly hatched chicks need?
A: Newly hatched chicks require a brooder with adequate heat, a balanced chick starter feed, and access to fresh water. Maintain cleanliness to prevent health issues.
Q: When can chicks be moved to the coop?
A: Chicks can be moved to the coop at around 6 weeks of age, once they have sufficient feathering for temperature regulation.
Q: What should be included in a chicken first aid kit?
A: Essential items include wound care supplies, electrolytes, vitamins, and medications prescribed by a poultry veterinarian.
Q: How do I introduce new chicks to an existing flock?
A: Gradually introduce new chicks, allowing supervised interactions through a fence before full integration. Monitor for signs of aggression.
Q: What are common health issues in chickens, and how can they be prevented?
A: Common issues include respiratory infections and parasites. Preventive measures include regular health checks, proper nutrition, and maintaining a clean coop.
B. 24+ Best Broody Chicken Breeds for Hatching Eggs
Broody Hen Characteristics:
Explore breeds known for their broodiness and maternal instincts.
Popular choices include Silkies, Orpingtons, and Brahmas.
Selecting a Broody Hen Breed:
Consider temperament, size, and egg production when choosing a breed for natural incubation.
Evaluate compatibility with your specific climate and coop conditions.
C. Serama Chickens Breed Guide
Introduction to Serama Chickens:
Learn about the Serama, a miniature chicken breed known for its small size and friendly disposition.
Understand their care requirements and suitability for different living environments.
D. Reader Interactions
Community Engagement:
Encourage readers to share their experiences and insights in the comments section.
Foster a sense of community among chicken enthusiasts, allowing them to learn from each other.
E. Recent Posts
Stay Updated:
Highlight recent blog posts, articles, or discussions related to chicken keeping.
Keep readers informed about the latest trends, research, and insights in the poultry farming community.
F. 10+ Chickens that Lay the Most Eggs (Best Egg Laying Chickens)
Top Egg-Laying Breeds:
Showcase breeds renowned for high egg production.
Include popular choices such as Leghorns, Sussex, and Rhode Island Reds.
Factors Influencing Egg Production:
Discuss factors affecting egg-laying, including nutrition, daylight exposure, and overall health.
Provide tips to maximize egg production in a flock.
G. Instafire Ember Off Grid Oven Review
Outdoor Cooking for Chicken Keepers:
Review an off-grid oven suitable for outdoor cooking.
Discuss its features, benefits, and practicality for chicken keepers.
H. 10+ Fluffy Chicken Breeds
Adorable Fluffy Breeds:
Explore chicken breeds known for their fluffy feathers and charming appearances.
Include breeds like Silkie, Polish, and Cochin.
Navigating the world of chicken keeping involves understanding various breeds, addressing common concerns, and staying informed about the latest developments.
As you embark on this chicken-keeping journey, use these guides to enhance your knowledge and create a thriving and happy flock. In the upcoming sections, we’ll continue to explore related topics, answering more questions and offering valuable insights for a successful chicken-keeping experience.
X. Conclusion
In conclusion, embarking on the journey of chicken egg incubation and chicken keeping unveils a fascinating world of life, care, and connection. From the meticulous process of incubating eggs, navigating the nuances of various poultry farming equipment, to the joy of witnessing fluffy chicks take their first steps, each stage offers unique insights and challenges.
By following the comprehensive guide presented here, readers are equipped with the knowledge to nurture a thriving flock, address common concerns, and engage with a vibrant community of chicken enthusiasts. Whether you’re a novice in the world of poultry farming or a seasoned keeper, the continuous learning and shared experiences within the community contribute to the rewarding endeavor of chicken keeping.
As you embark on this journey, may your coop be filled with the cheerful clucks of content hens and the warmth of newly hatched chicks, creating a fulfilling and sustainable connection with the world of poultry.
XI. Frequently Asked Questions (FAQs) - Chicken Egg Incubation 101: A Comprehensive Guide
1. What is the average hatching time for chicken eggs?
Chicken eggs typically hatch within 21 days, although the duration may vary based on the chicken breed and specific incubation conditions.
2. At what temperature are chicken eggs best incubated?
The recommended temperature for incubating chicken eggs is around 99.5°F (37.5°C) throughout the incubation period.
3. Can I hatch chicken eggs without an incubator?
Yes, alternative methods include using broody hens or creating DIY incubators. Each method has its own set of considerations and challenges.
4. How much does a chicken egg incubator cost?
Incubator costs vary based on type and features. Manual incubators are budget-friendly, ranging from $50 to $200, while automated options can range from $200 to over $1000.
5. What should be included in a chicken first aid kit?
Essential items include wound care supplies, electrolytes, vitamins, and medications prescribed by a poultry veterinarian.
6. When can chicks be moved to the coop?
Chicks can be moved to the coop at around 6 weeks of age, once they have sufficient feathering for temperature regulation.
7. How do I introduce new chicks to an existing flock?
Gradually introduce new chicks, allowing supervised interactions through a fence before full integration. Monitor for signs of aggression.
8. What are common health issues in chickens, and how can they be prevented?
Common issues include respiratory infections and parasites. Preventive measures include regular health checks, proper nutrition, and maintaining a clean coop.
9. Can I assist a chick during hatching if it's struggling?
Intervention should be minimal. If a chick is genuinely struggling and appears exhausted, you can carefully assist, but it’s best to let the process unfold naturally whenever possible.
10. How can I address malpositioned embryos during incubation?
Carefully reposition the eggs during candling. If malposition persists, seek guidance from poultry experts or veterinarians.